 zuka
zukaこんにちは。zuka(@beginaid)です。
この記事は,Ecsiteを自作するシリーズになります。今回はトップページを用意します。
その他のシリーズ記事は以下の目次をご覧ください。

完成品
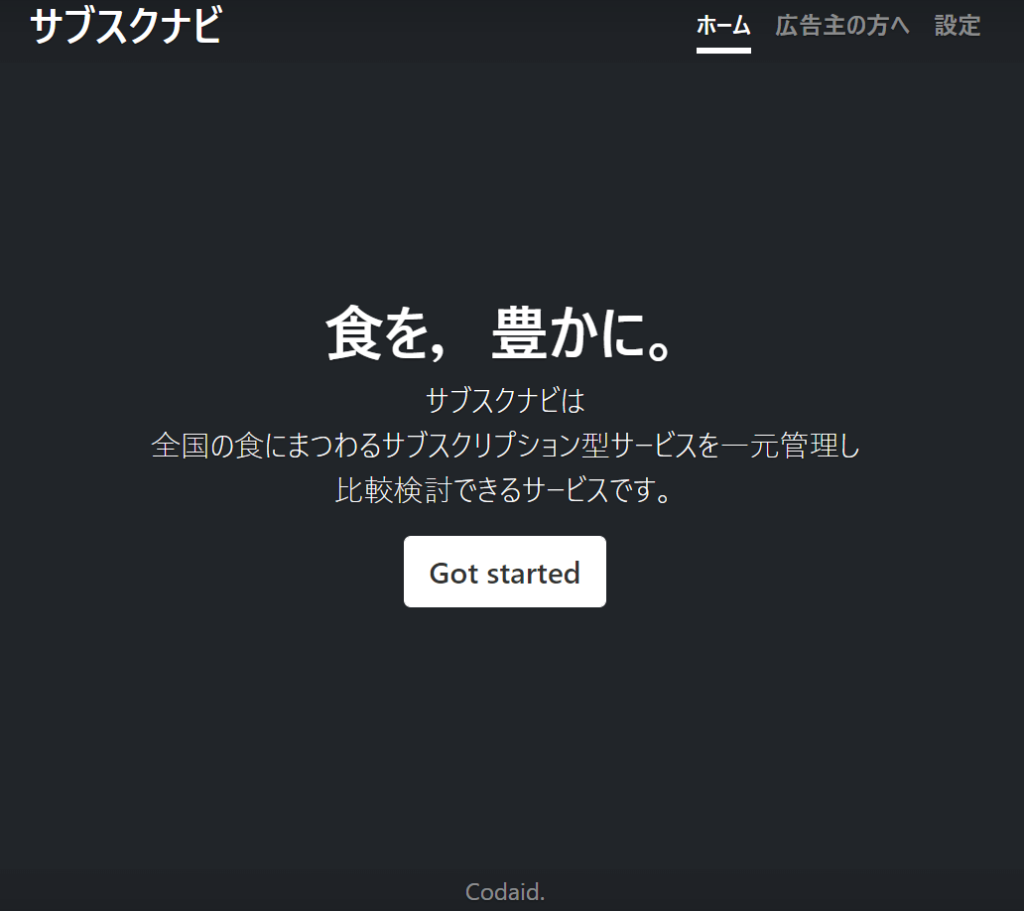
この記事では,以下のようなトップページの作成を目指します。

実行環境
- Java: 11.0.10
- Apache Tomcat: 9.0.44
- OpenJDK: 15.0.2
- JUnit: 5.7.1
- Eclipse: 4.19.0
- MySQL: 8.0.24
- OS: Windows10
Bootstrap5
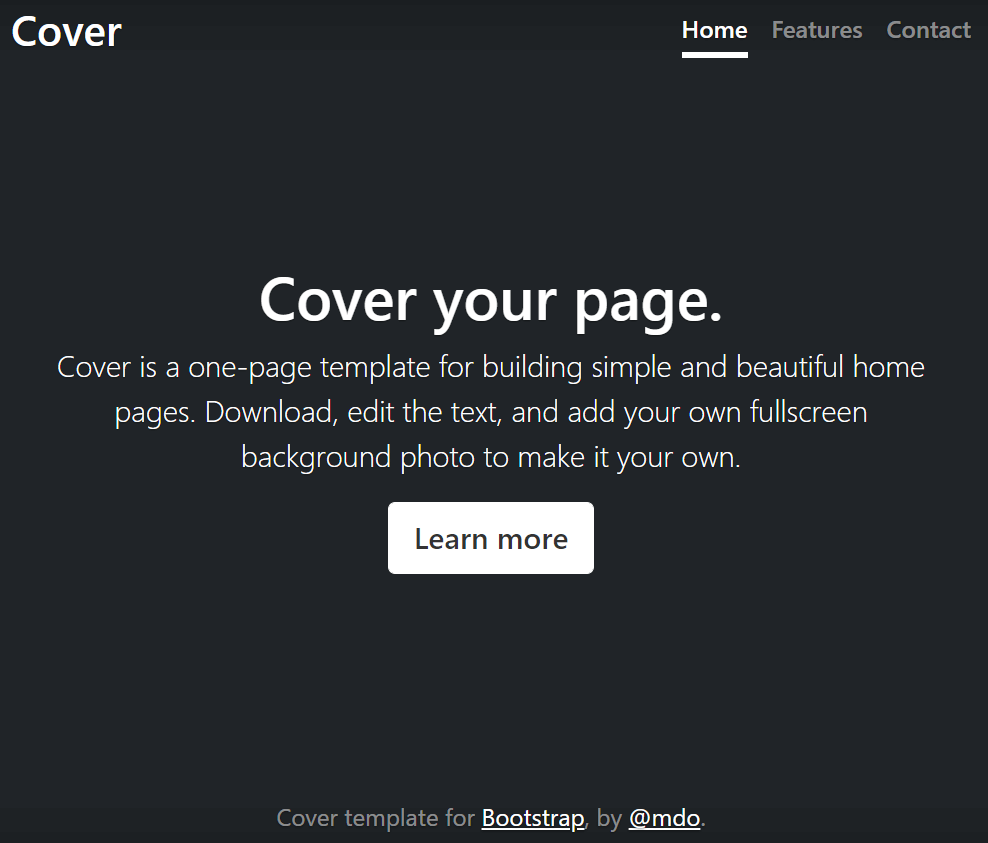
お手軽にキレイなサイトを作るフレームワークに「Bootstrap」があります。今回は,Bootstrap最新版のバージョン5を利用したいと思います。Bootstrapでは,複数のデモページが公開されています。その中に,ログイン画面に適したCoverというテンプレートを利用したいと思います。

ライセンス
Bootstrap5はMITライセンスになっています。詳細はGithubのリポジトリに記載があります。
HTML
Coverのサンプルを少し改変したjspが以下になります。
実装
<%@ page language="java" contentType="text/html; charset=UTF-8"
	pageEncoding="UTF-8"%>
<%@ taglib prefix="c" uri="http://java.sun.com/jsp/jstl/core"%>

<!doctype html>
<html lang="ja" class="h-100">
<head>
<meta charset="utf-8">
<meta name="viewport" content="width=device-width, initial-scale=1">
<meta name="description" content="">
<title>サブスクナビ</title>

<!-- Bootstrap core CSS -->
<link href="css/bootstrap.min.css" rel="stylesheet" type="text/css">

<!-- Favicons -->
<link rel="icon" href="/Ecsite/images/favicon.ico" />

<style>
.bd-placeholder-img {
	font-size: 1.125rem;
	text-anchor: middle;
	-webkit-user-select: none;
	-moz-user-select: none;
	user-select: none;
}

@media ( min-width : 768px) {
	.bd-placeholder-img-lg {
		font-size: 3.5rem;
	}
}
</style>

<!-- Custom styles for this template -->
<link href="css/cover.css" rel="stylesheet">
</head>
<body class="d-flex h-100 text-center text-white bg-dark">
	<div class="cover-container d-flex w-100 h-100 p-3 mx-auto flex-column">
		<header class="mb-auto">
			<div>
				<h3 class="float-md-start mb-0">
					<a href="#" style="text-decoration: none; color: white;">サブスクナビ</a>
				</h3>
				<nav class="nav nav-masthead justify-content-center float-md-end">
					<a class="nav-link active" aria-current="page" href="LoginServlet">ホーム</a>
					<a class="nav-link" href="#">広告主の方へ</a> <a class="nav-link"
						href="#">設定</a>
				</nav>
			</div>
		</header>
		<main class="px-3">
			<h1>食を,豊かに。</h1>
			<p class="lead">
				サブスクナビは<br>全国の食にまつわるサブスクリプション型サービスを一元管理し<br>比較検討できるサービスです。
			</p>
			<p class="lead">
				<a href="#"
					class="btn btn-lg btn-secondary fw-bold border-white bg-white">Got
					started</a>
			</p>
		</main>
		<footer class="mt-auto text-white-50">
			<p>Codaid.</p>
		</footer>
	</div>
</body>
</html>
注意点
いくつか注意点があります。まず,cssの読み込み方です。今回はBootstrapのソースコードをダウンロードして,ローカルにbootstrap.min.cssを配置しています。場所はwebapp直下のcssディレクトリです。eclipseの場合,webapp直下には元々cssディレクトリはないので自分で作る必要があります。sign-inのサンプルCSSも同じ場所に配置します。
また,ファビコンも適当に作ってwebapp直下のimagesディレクトリに配置します。cssディレクトリ同様imagesディレクトリも自分で作る必要があります。なお,各aタグのリンク先はまだ設定していません。
左上に表示される「サブスクナビ」という文字をクリックするとHOMEに戻るように設定しています。
<a href="#" style="text-decoration: none; color: white;">aタグはデフォルトでリンク済みのテキストには下線が付き色も青になってしまうため,style属性で下線が付かず,かつ色が変わらないように設定しています。
CSS
Coverのサンプルを少し改変したCSSが以下になります。こちらはサンプルと同じです。
/*
 * Globals
 */

/* Custom default button */
.btn-secondary, .btn-secondary:hover, .btn-secondary:focus {
	color: #333;
	text-shadow: none; /* Prevent inheritance from `body` */
}

/*
 * Base structure
 */
body {
	text-shadow: 0 .05rem .1rem rgba(0, 0, 0, .5);
	box-shadow: inset 0 0 5rem rgba(0, 0, 0, .5);
}

.cover-container {
	max-width: 42em;
}

/*
 * Header
 */
.nav-masthead .nav-link {
	padding: .25rem 0;
	font-weight: 700;
	color: rgba(255, 255, 255, .5);
	background-color: transparent;
	border-bottom: .25rem solid transparent;
}

.nav-masthead .nav-link:hover, .nav-masthead .nav-link:focus {
	border-bottom-color: rgba(255, 255, 255, .25);
}

.nav-masthead .nav-link+.nav-link {
	margin-left: 1rem;
}

.nav-masthead .active {
	color: #fff;
	border-bottom-color: #fff;
}

コメント